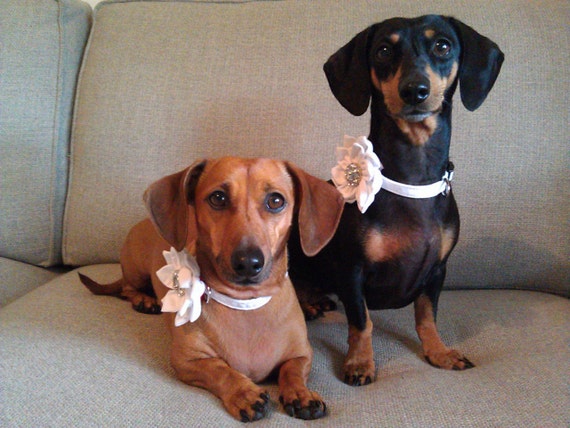
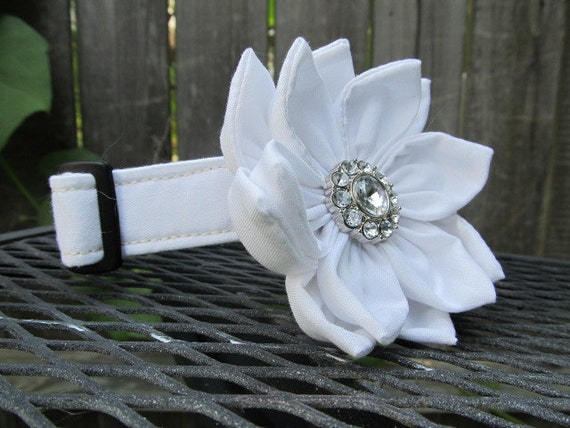
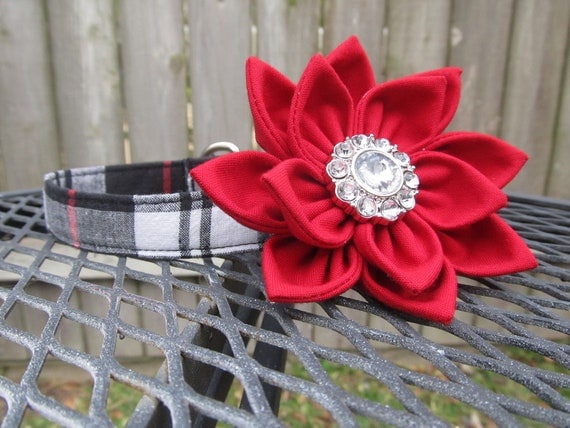
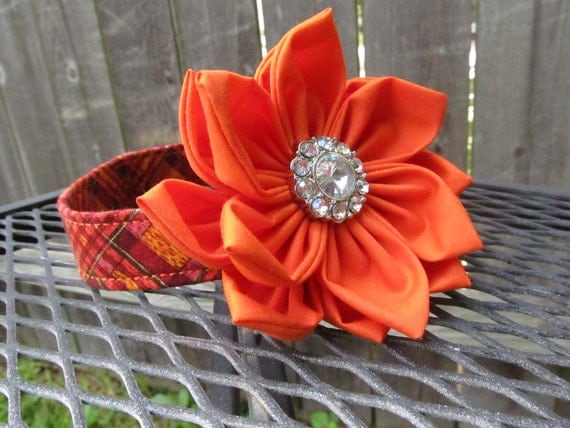
I'm going to kick this blog off with one of my absolute favorite flowers and a tutorial for it. I swear, I make this flower so much I could do it in my sleep and it's a pretty commonly made flower. I'm sure not EVERYONE makes it the same way and I frankly make it with my own special touch of complete OCD (you'll see in the tutorial). I apologize now for the darkness of the pictures - my house is surprisingly dark when it comes to photos. However - enjoy!
Okay. First off.
Materials:
Fabric
Circle form
pen/pencil/marker
scissors
sewing machine
upholstery thread (or just some strong thread)
Iron/Ironing Board
Optional:
Rotary Cutter
Sparkly button
The above picture is just a picture of some of the supplies. My circle-form is just a top of a jar and it measures about 4-5" in diameter. If you can see on the fabric, I used a water-soluble marker to trace my form. If you can't see it, well, it's there. For this flower, you're going to need 8 circles. My fabric is already folded and layered eight times
Next (this is where my weirdness starts), I use pins to pin the fabric in place and I use my scissors to cut out the circle. I have really really nice fabric scissors. I used to, however, use my rotary cutter. It takes longer but it's a lot sharper and cheaper than going out to buy scissors.
I'm obviously making two flowers, here.
Okay! Once you're done cutting the layers of circles out. Just for a recap you need to have EIGHT circles. You're going to fold the circle in half. Make sure if you have a fabric with a right and wrong side, you fold it where the WRONG side is showing.
Like so. And then just cut it where the loop is
So that gives you sixteen half circles.
Now slide over to your ironing board (mine is permanently up because I use it every single day - it's crazy, I know). Fold the half circles in half so you have cute little triangles. It should be pretty thick from all the layers. And then just iron it to get that crease. Again, make sure the WRONG side is the one facing out. You will flip it right side out later.
See?
Next stop is your sewing machine. Go ahead and unfold all of the little triangles so you have a nice stack of them. You're going to run the open straight side through the machine. Leave the curved side and the folded side alone, of course.
Voila!
Some more pictures of stuff.
Okay, now you cut between each petal of the flower so they're not all connected. For this flower I counted out eight for the bottom and six for the top. You should end up with three extra (I like to have extras just in case something happens, like there's a smudge on one or something).
Okay now take a flower, open it up and turn it right side out (I'm using Kona Cotton I think so both sides are the right side).
Now thread your needle and hand sew starting from the sewn part across the curved part. I have a certain way of sewing. When you get to the eighth one, go back through the first one to make the complete circle.
Do the same thing with the next layer - I used five petals on the top layer.
Now this is the hardest part of the entire thing. I sew both of the layers together going through each top petal.
See.
And See.
Then pull it tightly and you're done. Pick a button center and either sew the button through the center or glue it (I usually do both). That's it!! I do it so often I'm sure I probably skipped out on some steps or didn't get the best pictures for everything but I tried to explain it the best possible way.
If there are any questions about the tutorial feel free to ask here or email me at arcadiusdog@gmail.com
I make them for dog collars, obviously. But you can make them for hair pieces or brooches or anything.
Have fun crafting, guys :)
Chris


No comments:
Post a Comment